Create public Notion integration
Let’s start with creating a public Notion integration.
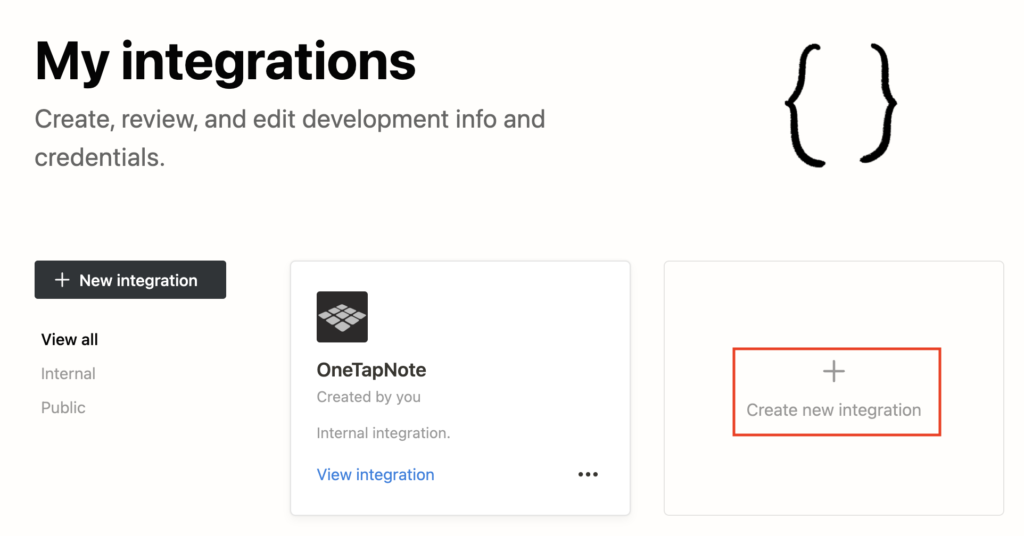
Start creating an integration by logging into your Notion account, going to https://www.notion.so/my-integrations, and clicking on the [+ Create new integration] button.
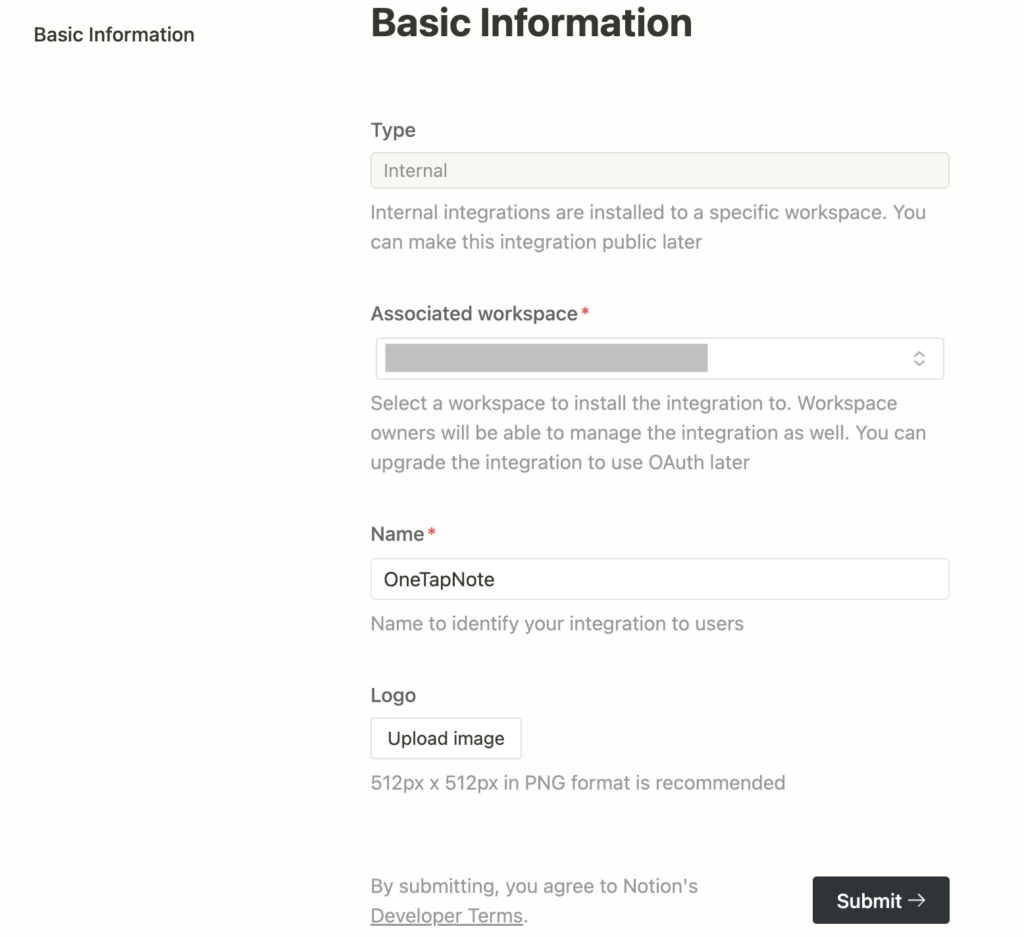
Then Add your basic information and submit it to get the API key.
Once the integration is created, you can get the integration token from Secrets.
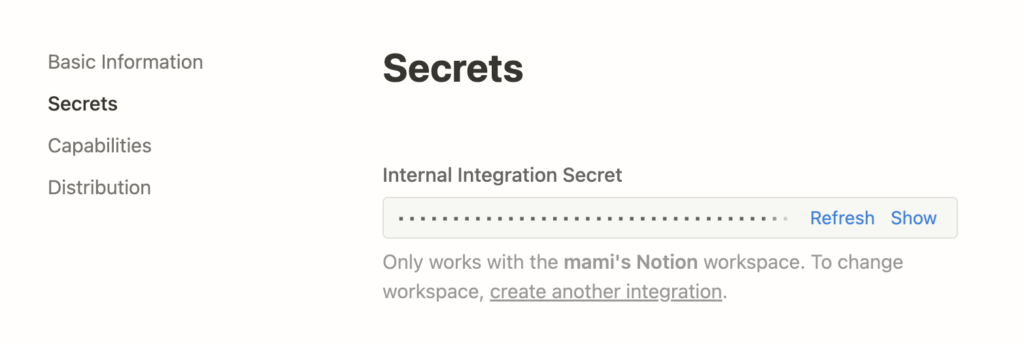
An integration token is a value required to associate your Notion account with OneTapNote. If it leaks to the outside, there is a possibility that the information will be seen, so please be careful not to tell others.
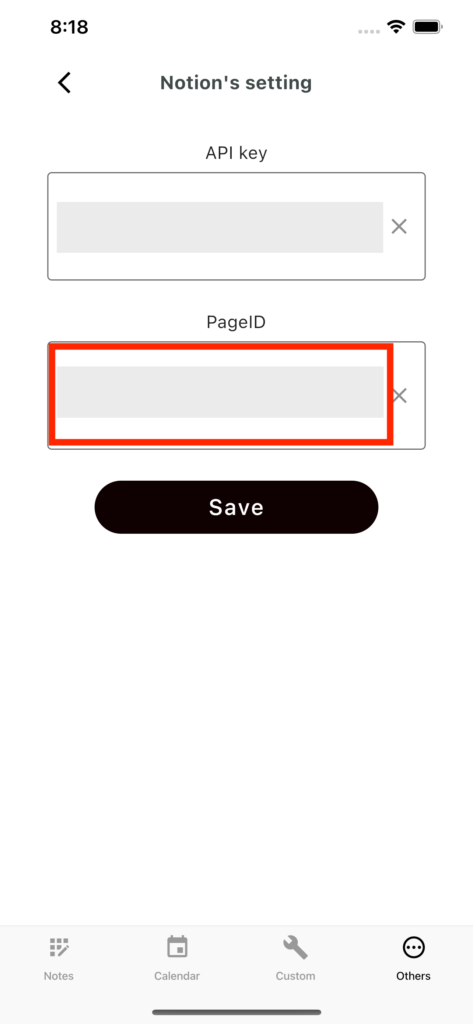
Enter the integration token (alphanumeric characters starting with secret_) obtained here into OneTapNote.
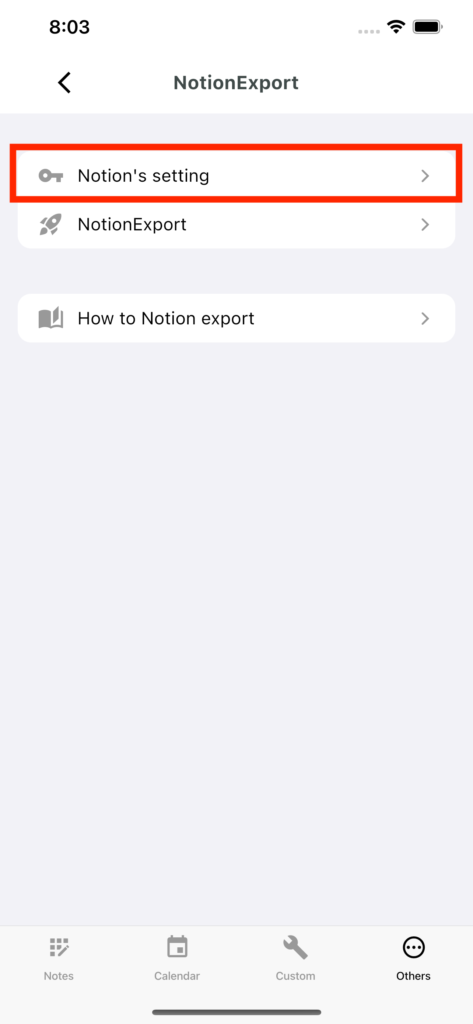
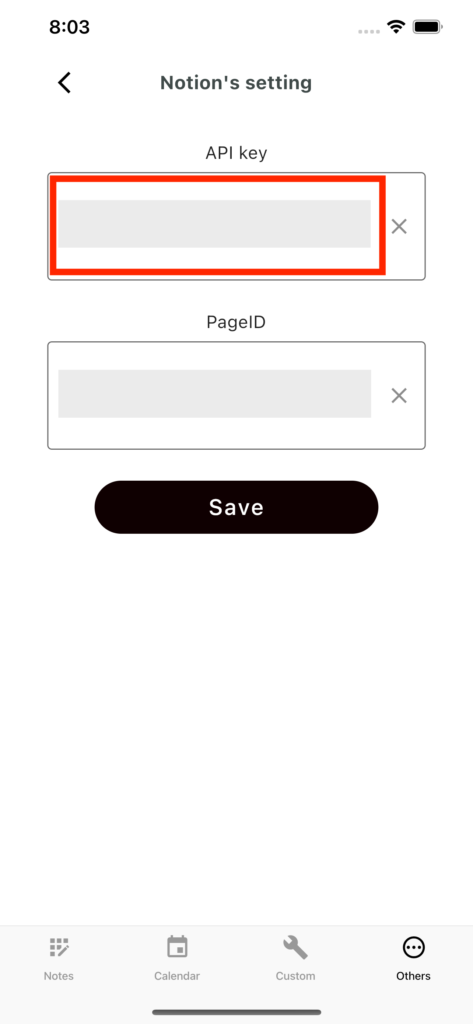
Create a root page to share
This step is to create a new page that we’ll authorize our public integration to access.
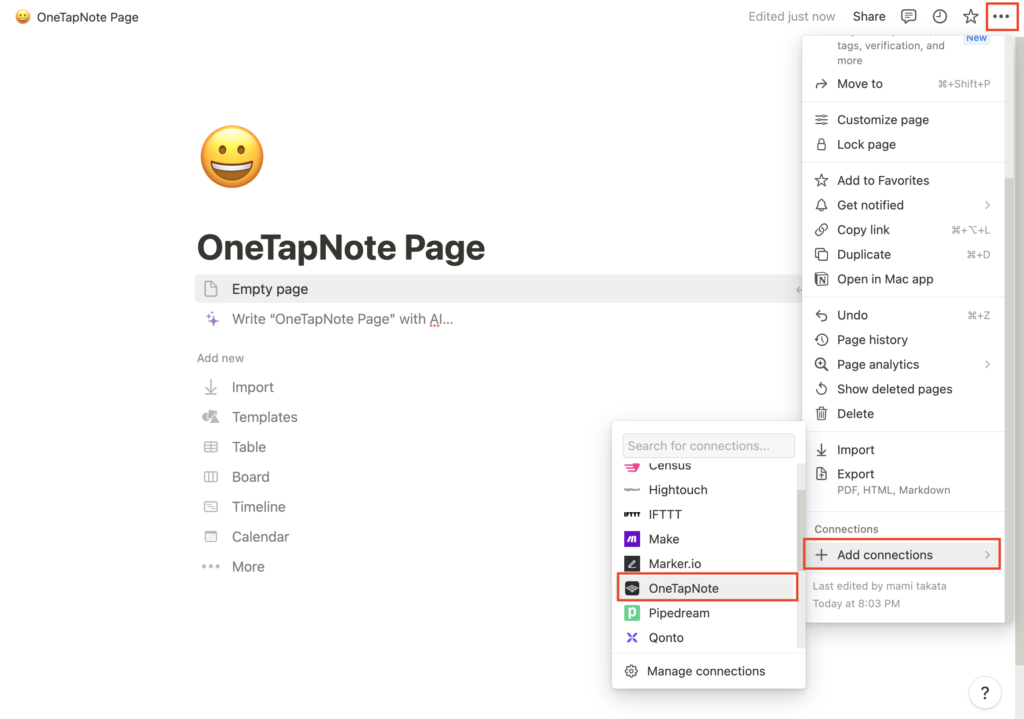
Create a page to export OneTapNote data and click the ••• button on its top right corner.Scroll to the bottom and select Add connections.Search for the name of your integration and click to give it access to the page.
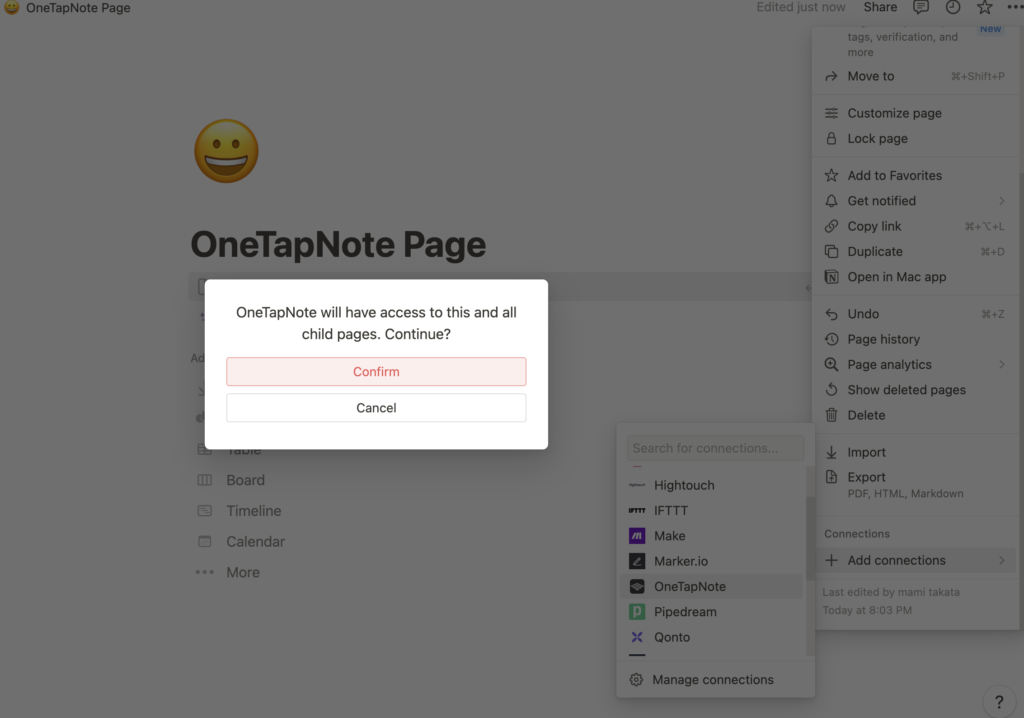
Select the integration that you have created and click Confirm.
Look at the URL and copy those numbers & letters after the last dash in the URL. This is your Notion page ID.

You can input this root pageID at the OneTapNote.

Export to Notion
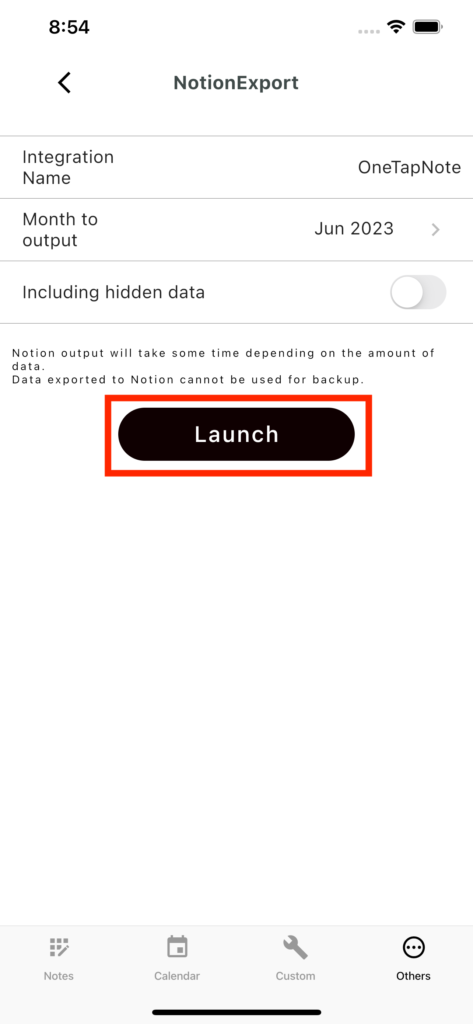
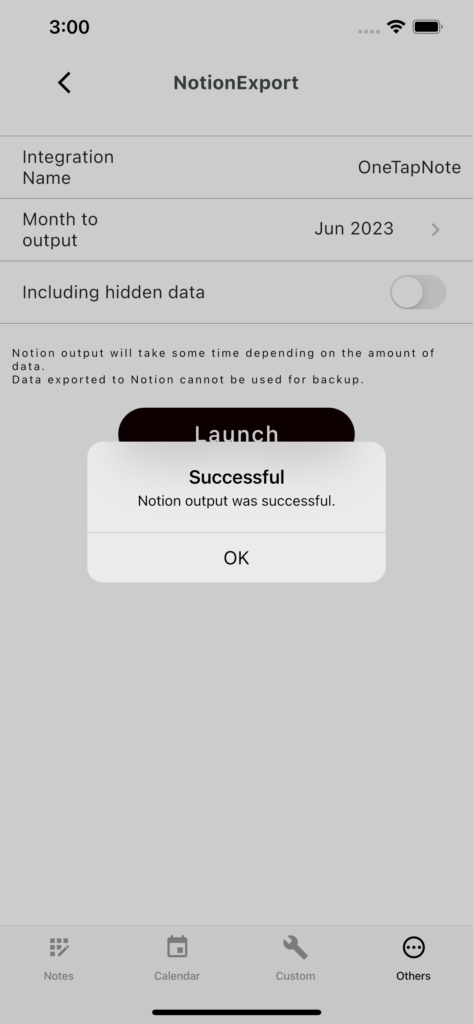
Export will start when you press the Launch button on the Notion Export screen. Notion’s export takes a little longer. A Success message will appear when the export is complete.
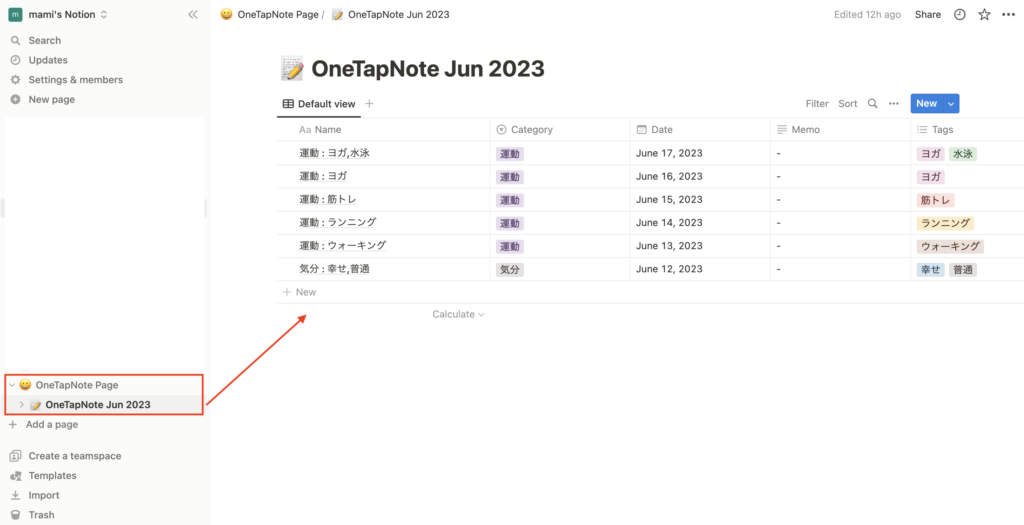
Go to Notion and make sure the child pages are created under the root page.
